Honey whole wheat dough in bowl
This is a batch of bread- it makes 4 large /bread bears, 15 small bears, or 2 very large loaves! YUM!

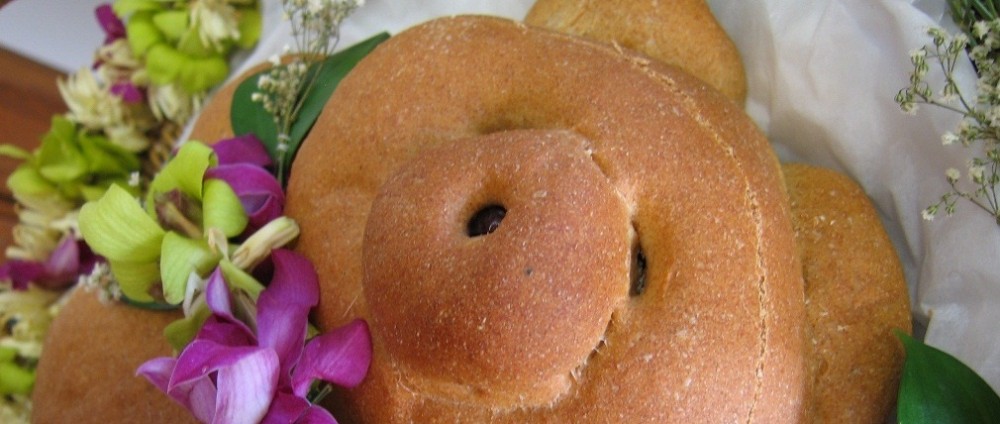
Honey Whole Wheat Bread ( for bears and otherwise)
Ingredients:
5 cups whole wheat flour
2-2 1/2 cups bread flour
1 cup milk (scalded)
1/4 cup margarine
1/4 cup honey
1/2 -3/4 cup hot water (105-115 degrees F)
2 TBSP yeast
2 TBSP sugar
1 TBSP salt
Method:
Mix yeast and hot water with about 1 tsp of the sugar and proof.(proofing is the MOST important step in making bread. It activates the yeast and makes sure that your bread will raise. After mixing , you give them time to work- wait about 5 minutes and watch for the yeast to grow. It will form a foam on top and grow in volume.)
Stir flours, salt, and remaining sugar together in large bowl.
Melt margarine into scalded milk (scald in microwave- 90 seconds on HIGH), then stir in honey until everything is melted and melded.
Make a well in flour mixture and add milky mixture- stir lightly into flour so that the hot mixture is lumpy in flour and then add yeast mixture. At this point you might need to add a little more water. I rinse the measuring cups out with hot water and pour the rinse water into the dough. You want the dough to be soft and flexible- not hard and doughy. Stir well- dough should be sticky- and dump contents of bowl onto floured surface. Add flour to your hands, and knead dough adding flour as needed. Knead dough for about 12 minutes- you can feel when the gluten starts to form- it will feel smooth and be cohesive. (Kneading is done with the palms of the hands – you push the dough towards the center of your ball, fold dough over and push, making a quarter turn with each push. You are forming a ball with the kneading movements.)
When your dough is smooth and feel satiny, place in a greased bowl – turn dough over so that the top of ball is buttered and cover and allow the dough to raise in a warm spot away from drafts. Allow to raise for about an hour- dough will be ready when it leaves an indent when you poke it with your forefinger.
I measure the dough out for bears: 8 oz. for the tummy…4 oz. for the head….about 1 oz. for each appendage, and about 2 oz to use for ears and snout. (see following pictures.) I shape each piece into a tight ball by gently stretching the dough into a ball and pinching the back tightly. Then I do it again, pulling it as tightly as I can without breaking the cloak or skin of the dough. Then place each piece next to the other in the shape of a teddy bear and grab a bamboo skewer and using the sharp pointy end press the balls together at the seams. Form small balls for ears, place behind head and seam it with the skewer, Then make a small oblong ball and put it in the lower center of face and seam it into place with skewer. Make small indentations with skewer for eyes and nose and push currants or raisins in with the dull end of the skewer. I always give my bears a belly button with the skewer. Just poke them in the tummy and twist/pull the skewer out. Then let them raise for at least 45 minutes- up to an hour and 15 minutes – Preheat oven to 375 degrees and bake for about 35 to 45 minutes- until teddy bear brown.
Cool on wire racks. Tummies should give a slightly hollow sound when you thump it to see if they are done. Thump gently!
Creating a gluten cloak
Scientific term for shaping the dough into cohesive balls that will form the base of each bear. Without the gluten cloak the dough sags and raises into a formless mass- not a bear!

Still forming the cloak
It takes a while to get the cloak to form – you have to pull tight and pinch at least 3 times.

Final stretch
This is the last step to the cloak- pushing the entire ball through the index finger and thumb, you create the tension that holds the dough in place. Now just pinch the back together tightly and you have created a bear belly. Do the same for the head and arms and legs- add tiny balls for ears and snout and. use the skewer to attach them by pressing them together with the edge and sliding across the attachment spot.

Voila- bread bears ready to bake
These have been shaped and are ready to raise.

Ready for the oven!
They need to raise about 45 minutes- to an hour- then they puff up and are ready to bake at 350 degrees for about 25 minutes.

Scenes on the Porch-close-up
bears and more bears

Such little cuties and such a lot of work going into each one, though I imagine that you are very speedy – I would love to have a try at these one day when I have a peaceful morning ahead and no interruptions xx Jo
I have grown quite speedy over the years, Joanna
It takes about and hour for me to shape 17 little bears, 20 minutes on 4 large bears.
They do take some time, but that is why they are such a special gift. I put on some Telemann and pour myself some tea and go to work. 🙂
Do try them sometime- I’d love to see some British Bread Bears!
Heidi, thank you so much for this!! I love it – will study it in detail when I get time, but for now have bookmarked it for reference. Have you tried using other dough recipes, or do you always use the same one because you know how much the dough will rise, etc? Thanks again darling! xx
I have used other doughs- a cinnamon bun dough with eggs and milk- but then I make a cinnamon roll and cut two slices and add the appendages and ears- calling them cinna-bears. I’ve also used French bread dough- they end up looking more like polar bears with longer necks and white with a slight tan. And I’ve also made them with a country white bread dough- milk, eggs,bread flour and oil or butter in the dough- they were kind of stunted. I like the whole wheat the best for looks and lasting- they stay pretty yummy for 4-5 days- so they work real well for gifts.
You are very welcome- looking forward to seeing what magic you can work with them!
Heidi, When my children were little, they would eat the bears on the way home. We never had them longer than a day or two at the most.
These really are good eating! 🙂
Always, always adorable. I love your attention to detail because they make them all the more special.
Thank you, Martha.
I’m going to make up a batch to give to the neighbours for Christmas!
Pingback: A rabbit bread tutorial- shaping bread- making fantasies in dough | Steps On The Journey
Thank you so much for your post. I have a 4 year old son and your site gives me ideas on what to make for him…I am really thankful for you
Why thank you! I love giving bread to children- they love the shape and yet are thrilled to eat it…unlike adults who get caught up in not wanting to eat the cute bread!
Pingback: A Bread Bear in Bristol | Zeb Bakes